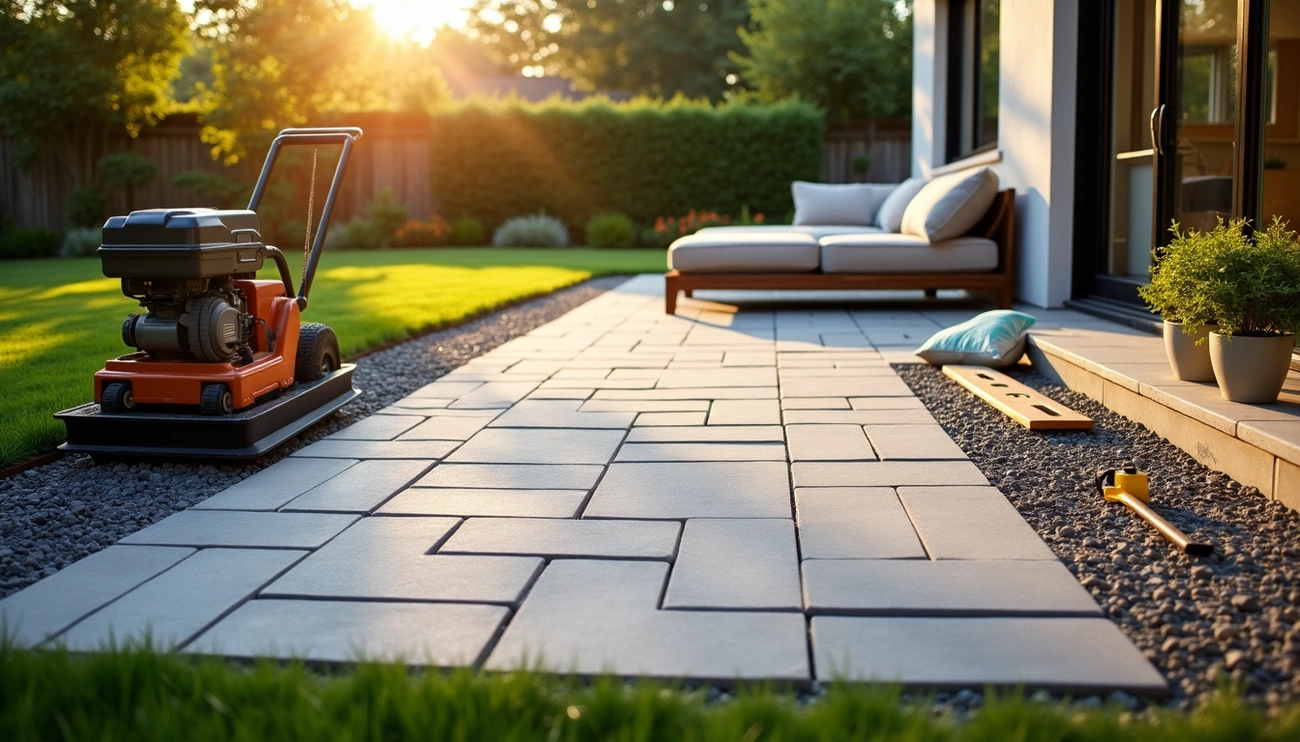
Adding a patio is one of the best ways to boost your home’s outdoor living space. Whether you’re dreaming of a cozy seating area, an outdoor dining zone, or a full backyard entertainment setup, a professionally installed patio can bring that vision to life.
But before the first paver is laid or the concrete is poured, your yard needs to be properly prepared.
At Salas Outdoors, we help homeowners plan their patio projects from the ground up. In this blog, we’ll walk you through how to prep your yard for a patio installation—so your project starts strong and finishes flawlessly.
Start by taking a good look at your yard.
Understanding the layout and potential challenges helps set the stage for smart planning. Salas Outdoors always begins with a site assessment to identify any grading, drainage, or access concerns.
Marking the layout of your patio gives you a visual guide and helps fine-tune the size and shape before construction begins.
This step helps you see how the patio will flow with existing walkways, grass, gardens, or fences. Our team can also provide a professional layout design that maximizes your space.
Before patio installation, it’s essential to clear the entire site of:
This creates a clean surface for grading and prevents unwanted growth from pushing through later. At Salas Outdoors, we handle the excavation and clearing process with precision equipment to ensure a solid foundation.
Proper drainage is critical for a long-lasting patio. Standing water under or around your patio can lead to erosion, cracks, and shifting over time.
Solutions might include:
Salas Outdoors specializes in integrating drainage systems into patio design, protecting both the structure and your landscaping.
If your patio project includes features like:
…you’ll want to plan ahead for electrical lines, gas lines, or water access. It’s much easier (and cheaper) to install utility connections during the prep phase.
We coordinate with licensed professionals to make sure all utilities are installed safely and up to code.
The strength of your patio depends on what’s beneath it. A solid base ensures the patio doesn’t sink, crack, or shift over time.
Salas Outdoors uses a compacted gravel base, often with a sand or concrete layer depending on the material. Proper base prep is key whether you're installing:
We handle this with industry-standard techniques to guarantee long-term stability.
Leave room for the future. Even if you’re starting small, think about:
During prep, we make sure your yard layout can accommodate future upgrades—so you won’t need to dig up your investment later.

Let Salas Outdoors take the stress out of your patio project—from planning to prep to final installation. Reach out today to schedule a consultation.